OpenProject - Introduction to Projects
OpenProject - Introduction to Projects
Projects introduction
Get an introduction how to work with projects in OpenProject. To start collaboration in OpenProject, you first have to set up a new project.
A project is defined as a temporary, goal-driven effort to create a unique output. A project has clearly defined phases, a start and an end date, and its success is measured by whether it meets its stated objectives. A project in OpenProject can be understood as a project as defined above. Also, it can be set up as a “workspace” for teams to collaborate on one common topic, e.g. to organize a department.
Note: In order to see a project and work in it, you have to be a member of the project.
Open an existing project
In order to open an existing project, click the Select a project button in the upper left corner of the header and select the project you want to open.
You can also start typing in a project name to filter by the project’s title.

Projects and subprojects are displayed according to their hierarchy in the drop-down menu.
Subproject is defined as a child project of another project. Subprojects can be used to display a hierarchy of projects. Several filter options (e.g. in work package list and timeline) can be applied only to the current project and its subprojects.

Also, you will see your newest projects on the application landing page in the Projects section. Here you can simply click on one of the newest visible projects to open it.

Create a new project
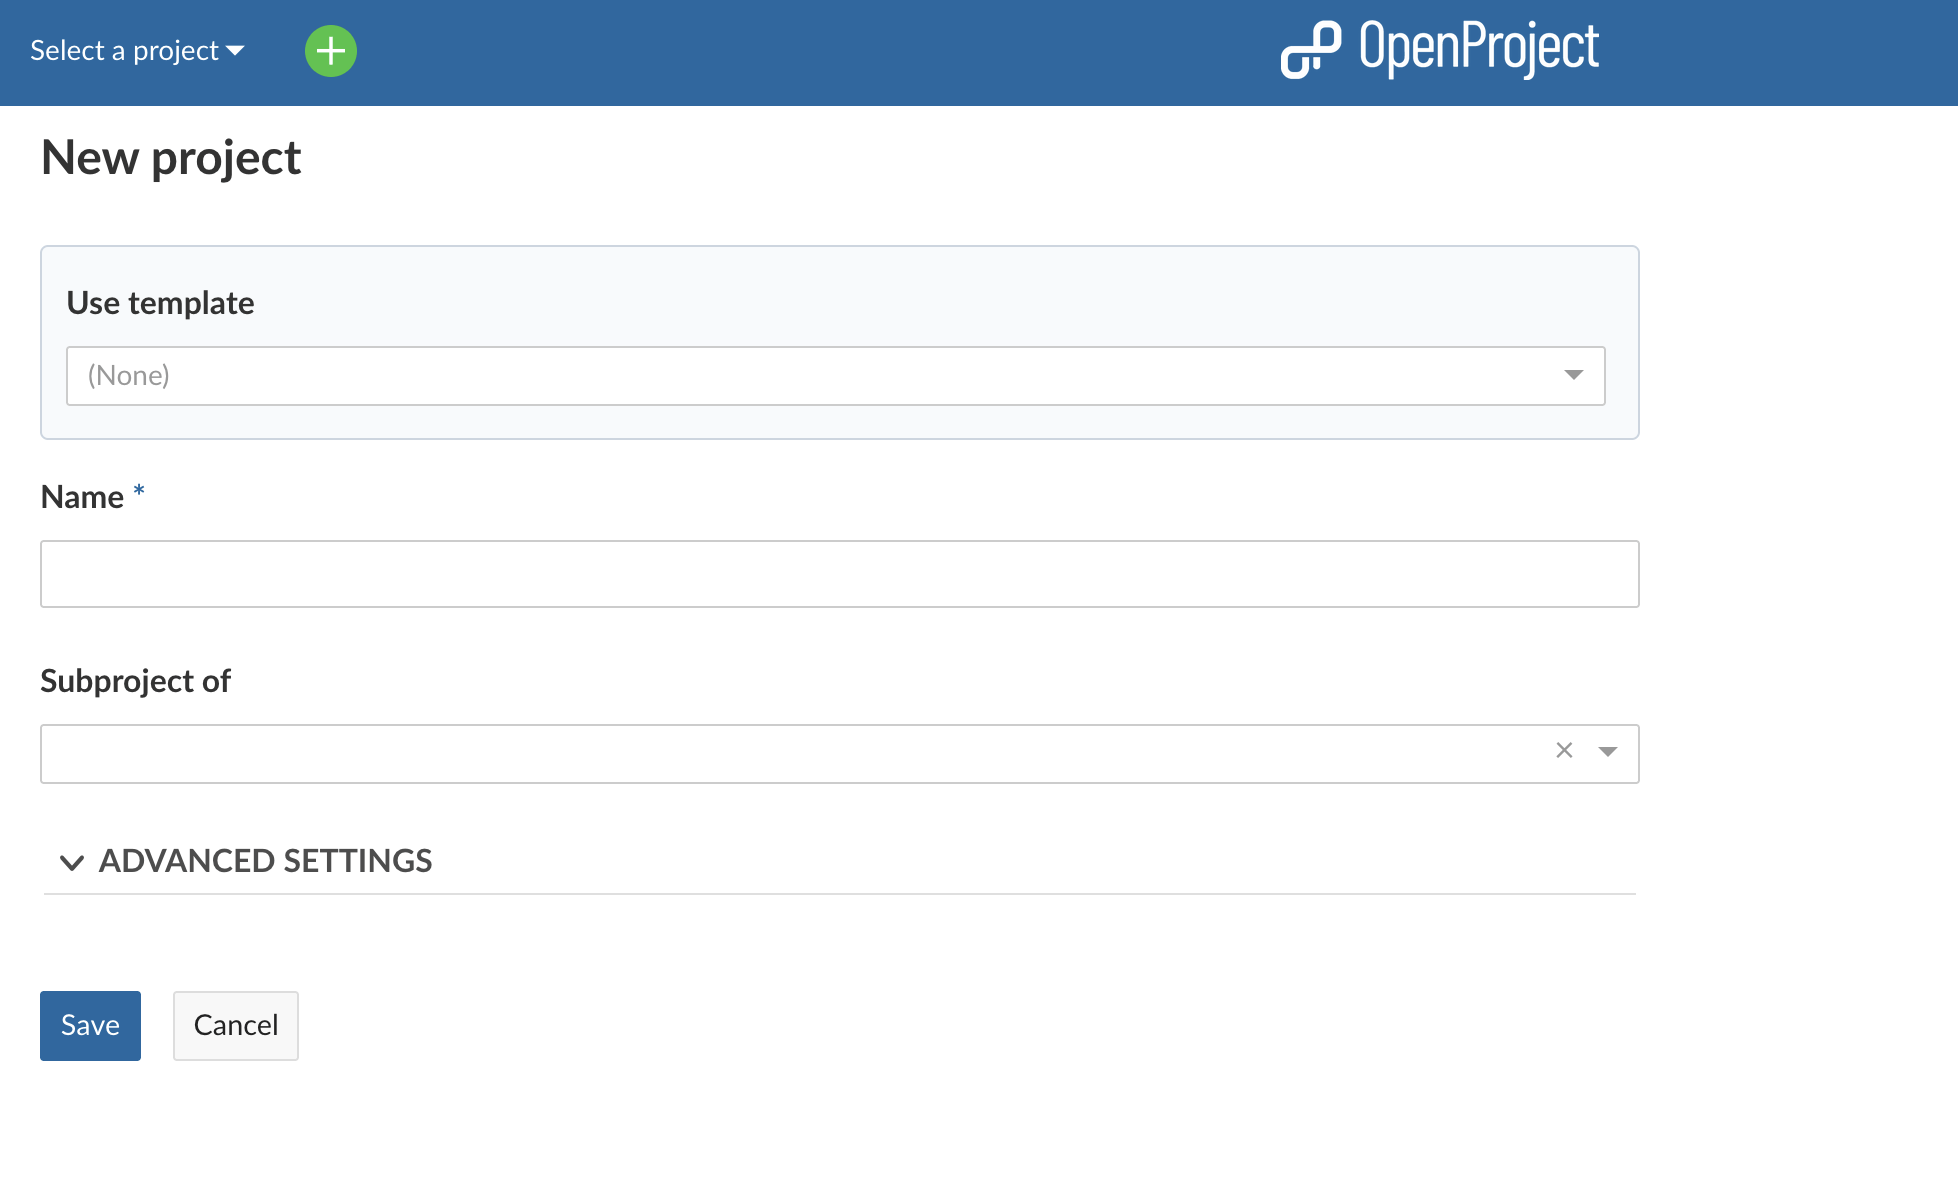
To create a new project, click the green button + Project directly on the system’s home screen in the Project section.

Alternatively, you can use the green + button in the header menu to create a new project.

- You can either create a completely new project, create a subproject of an existing project or create a (sub)project from a template. For the latter option, choose a template using the drop-down menu.
- Enter a name for your project and click the blue Save button.
- Integrate the project into the existing project hierarchy by defining it as a subproject of an existing project.
- The Advanced Settings allow for further configuration, e.g. description, URL, etc.

By default, creating a new project will set you as project admin, regardless of whether you copied a project, used a template or created a project from scratch. Now, you can get started working on your project.
To configure further project information, see the documentation for project settings.
View all projects
To view all your projects in which you are a member, click on the Projects list button at the bottom of the action bar after opening the Select a project drop-down menu.

You will see a list with all your projects and their details.
